
Few things cause more worry in a plant owner than the sight of leaves turning yellow. It feels sudden, it looks alarming, and it is easy to assume the worst. But yellowing leaves are not a death sentence — they are a communication. Your plant is telling you that something in its environment or care routine needs to change, and once you learn to interpret that message correctly, yellowing becomes one of the most useful diagnostic tools you have as a plant owner.
Understanding Why Leaves Turn Yellow
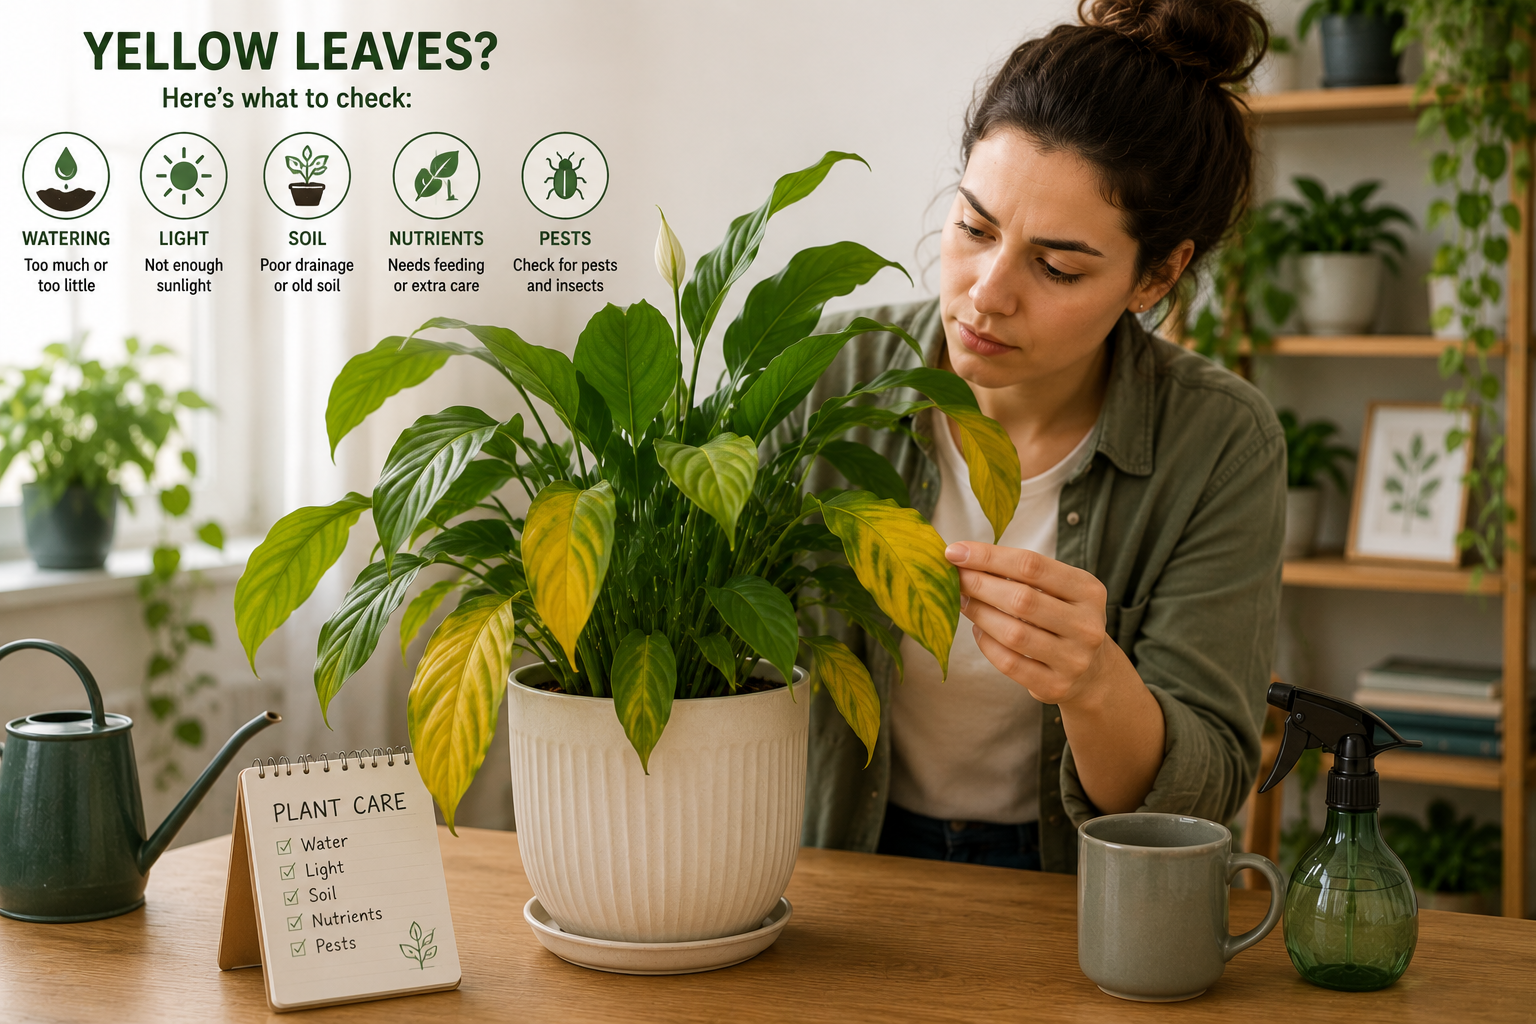
Leaf yellowing, known botanically as chlorosis, occurs when a leaf loses its chlorophyll — the green pigment responsible for photosynthesis. Chlorophyll production depends on a precise combination of light, water, nutrients, and root health. When any one of these factors is disrupted, chlorophyll breaks down and the underlying yellow pigments in the leaf become visible. The specific pattern of yellowing — which leaves are affected, whether the yellowing starts at the edges or the center, whether it is uniform or patchy — gives you important clues about the underlying cause.
The most important thing to understand is that a single yellowing leaf, particularly on the lower portion of the plant, is almost always completely normal. Plants naturally shed their oldest leaves as they grow, redirecting energy toward new growth at the tips. It is only when multiple leaves are yellowing simultaneously, when the yellowing is spreading upward through the plant, or when the pattern looks unusual that you need to investigate further.
Reading the pattern of yellowing
The location and pattern of yellow leaves on your plant carry specific meaning. Yellowing that starts at the bottom of the plant and moves upward usually points to overwatering or root rot. Yellowing that appears first in the center of leaves while the edges stay green often indicates a magnesium deficiency. Yellow leaves with green veins — a pattern called interveinal chlorosis — suggest an iron or manganese deficiency. Uniform yellowing across the entire plant, affecting new and old leaves equally, points most commonly to insufficient light or a severe lack of nitrogen in the soil.
Overwatering: The Most Common Cause
If you had to bet on a single cause for your plant’s yellow leaves, overwatering would win the majority of the time. It is by far the most widespread problem in indoor plant care, and it is particularly insidious because the symptoms look almost identical to underwatering in the early stages — both produce wilting and yellowing, which often leads plant owners to water even more, worsening the situation significantly.
When soil stays wet for extended periods, the roots are deprived of oxygen and begin to suffocate. Suffocated roots cannot absorb water or nutrients effectively, even when both are abundantly available in the soil around them. The plant begins to starve and dehydrate simultaneously, and the leaves yellow as a direct result. If the waterlogged conditions persist, the roots begin to rot — a condition that releases harmful bacteria and fungi into the soil and can kill a plant remarkably quickly if not addressed.
How to check for and fix overwatering
Remove the plant from its pot and examine the roots directly. Healthy roots are white or light tan and firm to the touch. Roots affected by rot are brown or black, mushy, and may smell unpleasant. If you find rotted roots, trim them away cleanly with sterilized scissors, dust the cuts with powdered cinnamon or activated charcoal to discourage further fungal growth, and repot the plant into fresh, dry, well-draining potting mix. Going forward, always check soil moisture before watering by pressing a finger an inch into the soil — if it feels moist, wait another two to three days before checking again.
Underwatering and Drought Stress
While overwatering is more common, underwatering produces its own distinctive pattern of yellowing. A plant that is consistently too dry will develop yellow leaves that also feel dry and papery, often curling at the edges before dropping from the plant. The soil will be bone dry all the way to the bottom of the pot, and the plant itself may feel lighter than usual when you lift it — a reliable indicator that the root ball has dried out completely.
The fix is straightforward but must be done carefully. Do not simply pour water onto the surface of very dry soil — when potting mix dries out completely, it often pulls away from the edges of the pot and becomes hydrophobic, causing water to run straight down the sides without penetrating the root ball at all. Instead, place the entire pot in a basin of water and allow it to soak from the bottom up for thirty to sixty minutes until the soil is evenly rehydrated throughout. After this deep watering, establish a more consistent watering routine going forward.
Light Problems: Too Much or Too Little
Light deficiency is one of the most overlooked causes of yellow leaves, particularly in homes where plants are placed for decorative purposes rather than based on their actual light requirements. A plant that does not receive enough light cannot photosynthesize effectively, which means it cannot produce the energy it needs to maintain healthy green foliage. The leaves gradually pale and yellow, growth slows dramatically, and the plant begins to drop leaves to reduce the energy demand on its weakened system.
Too much direct sunlight causes a different but equally damaging problem. Harsh direct sun, particularly through south or west-facing windows in summer, bleaches chlorophyll from leaves rapidly, producing a yellowed or washed-out appearance that is often accompanied by dry, papery patches or scorched brown spots. If your plant is sitting in direct afternoon sun and developing pale, yellow-tinted leaves with brown edges, moving it back from the window or filtering the light with a sheer curtain will usually reverse the damage within a few weeks of new growth.
Finding the right light balance
The ideal light for most common houseplants is bright, indirect light — the kind of illumination found a meter or two from a sunny window, or directly in front of a north-facing window. If you are unsure whether light is the cause of your yellowing, hold a piece of white paper in the spot where your plant sits at midday. If you can see a clear, defined shadow, the light is adequate for most houseplants. If the shadow is faint or nonexistent, the spot is likely too dark for anything but the most shade-tolerant species.
Nutrient Deficiencies That Cause Yellowing
Plants growing in pots depend entirely on the nutrients present in their potting mix, and over time those nutrients become depleted. A plant that has not been fertilized in many months, or one that has been in the same potting mix for several years, will eventually begin to show signs of nutritional stress — and yellowing leaves are among the first and most visible symptoms.
Nitrogen deficiency is the most common nutritional cause of yellowing. Nitrogen is the primary driver of green, leafy growth, and when it runs low, plants redirect what little remains toward new growth at the tips, sacrificing the older lower leaves first. The result is a plant that yellows progressively from the bottom upward. A dose of balanced liquid fertilizer during the growing season will typically show improvement within two to three weeks as the plant absorbs the nitrogen and begins recovering its color.
- Nitrogen deficiency — uniform yellowing starting from older lower leaves, moving upward
- Iron deficiency — yellowing between the veins of young leaves while veins remain green
- Magnesium deficiency — yellowing in the center of older leaves while edges stay green longer
- Potassium deficiency — yellowing and browning along the edges and tips of leaves
- Calcium deficiency — distorted new growth and yellowing at growing tips
Pests and Disease as Hidden Causes
Some of the most frustrating cases of yellowing are caused not by watering or light issues but by insects feeding on the plant’s sap. Spider mites, fungus gnats, mealybugs, and scale insects all damage plant tissue in ways that eventually produce yellowing foliage, and because many of these pests are tiny or hide on the undersides of leaves, they can go undetected for weeks while causing significant harm.
Inspect your plant thoroughly at the first sign of unexplained yellowing. Check the undersides of leaves carefully, look along stems near the soil line, and examine the base of leaf clusters where pests commonly shelter. Spider mites leave fine webbing between leaves and stems. Mealybugs appear as white cottony clusters in leaf joints. Scale insects look like small brown bumps attached to stems. If you find any of these, treat promptly with insecticidal soap, neem oil, or a systemic houseplant insecticide appropriate for the pest you have identified.
Common Mistakes to Avoid
- Watering more when you see yellow leaves — Yellow leaves are more often caused by too much water than too little. Always check the soil before adding more water.
- Removing yellow leaves before diagnosing the cause — The yellow leaves themselves contain clues. Study their pattern and location before removing them, then investigate the root cause.
- Assuming one cause without checking all possibilities — Yellowing has many causes. Work through them systematically: check soil moisture first, then light, then roots, then nutrients, then pests.
- Changing multiple variables at once — If you move the plant, change your watering routine, and fertilize all at the same time, you will not know which change made the difference. Address one factor at a time.
- Giving up too quickly — A plant that has lost several leaves to yellowing can still recover fully once the underlying cause is corrected. Give it two to four weeks after making changes before assessing whether the treatment is working.
Frequently Asked Questions
Q: Should I remove yellow leaves from my plant?
A: Yes, once you have noted their pattern and investigated the cause, removing yellow leaves is beneficial. Yellow leaves will not recover their green color, and removing them allows the plant to redirect energy toward healthy new growth. Use clean scissors or pinch them off at the base of the leaf stem.
Q: Can yellow leaves turn green again?
A: Unfortunately, a leaf that has already yellowed will not return to green — the chlorophyll that was lost cannot be restored in that leaf tissue. However, once the underlying cause is corrected, new leaves will emerge healthy and green, and the plant as a whole will recover its vigorous appearance over the following weeks.
Q: My plant is yellowing but the soil feels moist and it gets good light. What else could it be?
A: If light and watering both appear appropriate, the next things to investigate are root health, nutrient levels, and pests. Remove the plant from its pot to check the roots for signs of rot. If the roots look healthy, apply a balanced liquid fertilizer and inspect the entire plant carefully for any signs of insect activity on the leaves, stems, and soil surfac